
Gallery
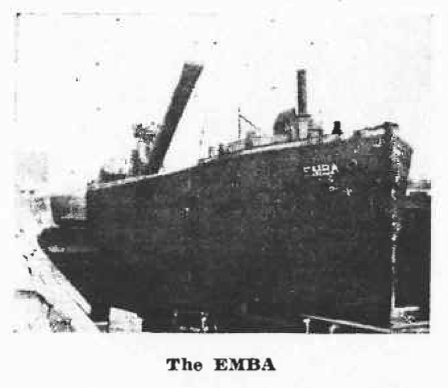
Historic image of the E.M.B.A. shortly after her purchase by the Milwaukee Electric Railway & Light Company (Rail & Wire Magazine 1923).
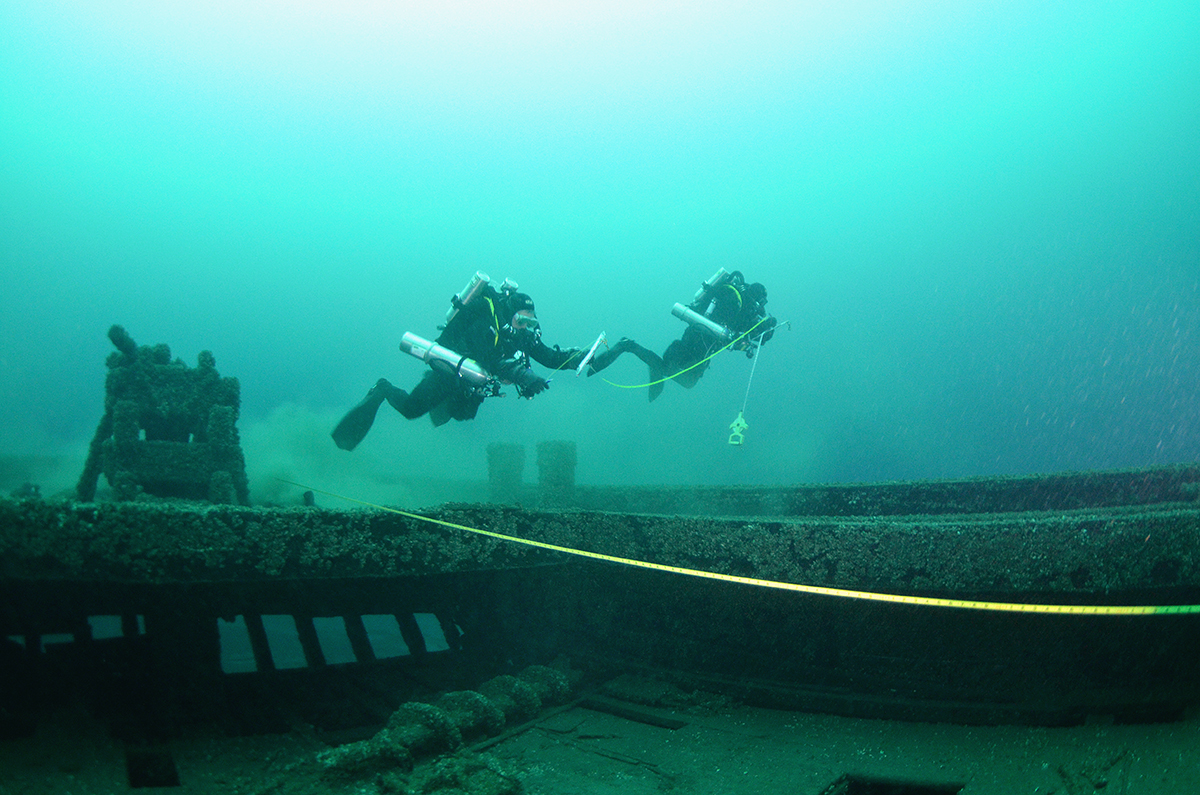
Divers swim over a baseline during the survey of the E.M.B.A.
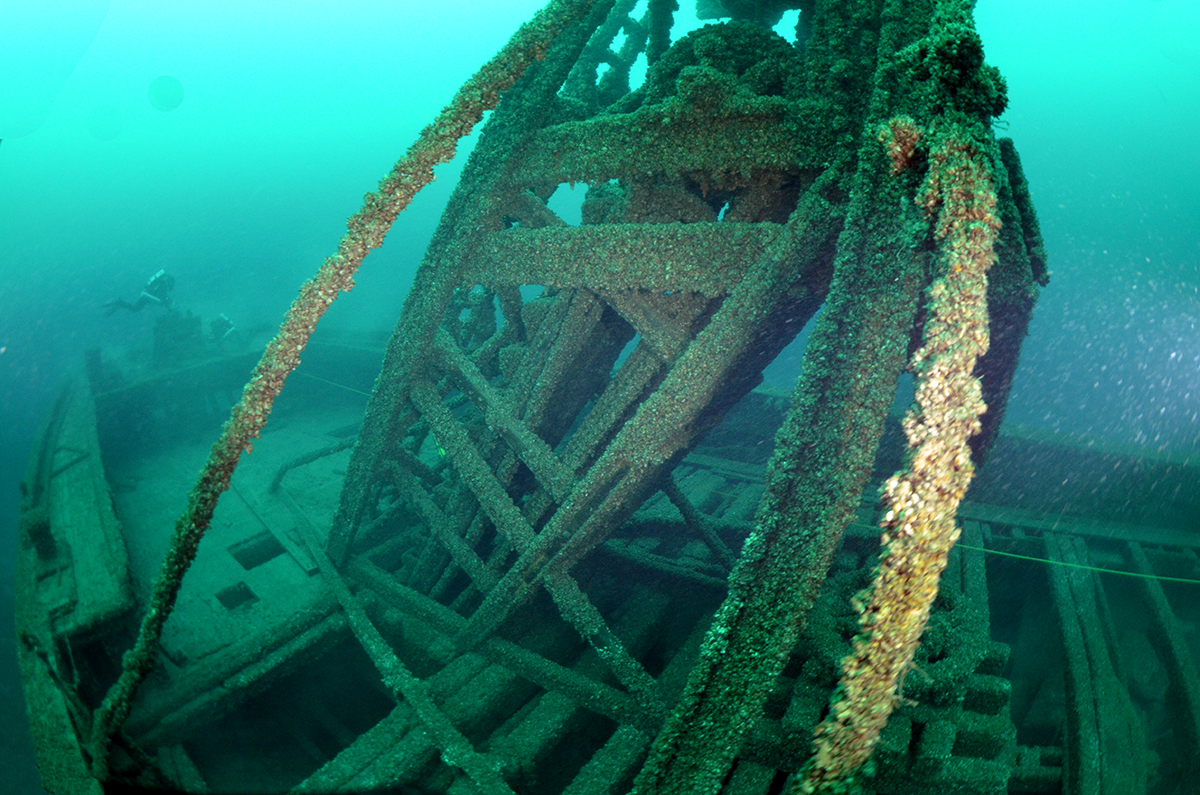
E.M.B.A.'s self-unloading mechanism.

Bow of E.M.B.A. collapsed when it struck the bottom upon sinking
Hopper and Self-Unloading equipment
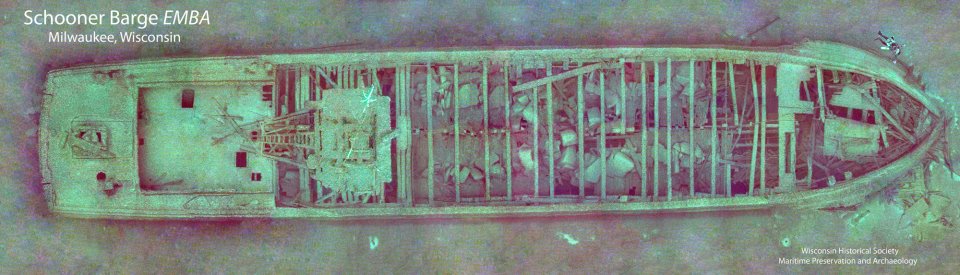
Photo mosaic of E.M.B.A. Note diver off port side bow.

E.M.B.A in its initial Configuration as the A.C. Tuxbury. Photo by Louis Pesha.

E.M.B.A. in its Initial Configuration as the A.C. Tuxbury.

E.M.B.A in its Initial Configuration as the A.C. Tuxbury while in tow of W.H. Sawyer.

EMBA's Deck.

View down EMBA's Self Unloading Mechanism.

View of the Inside of the Stern

View of deck alongside the self-unloading mechanism on the EMBA

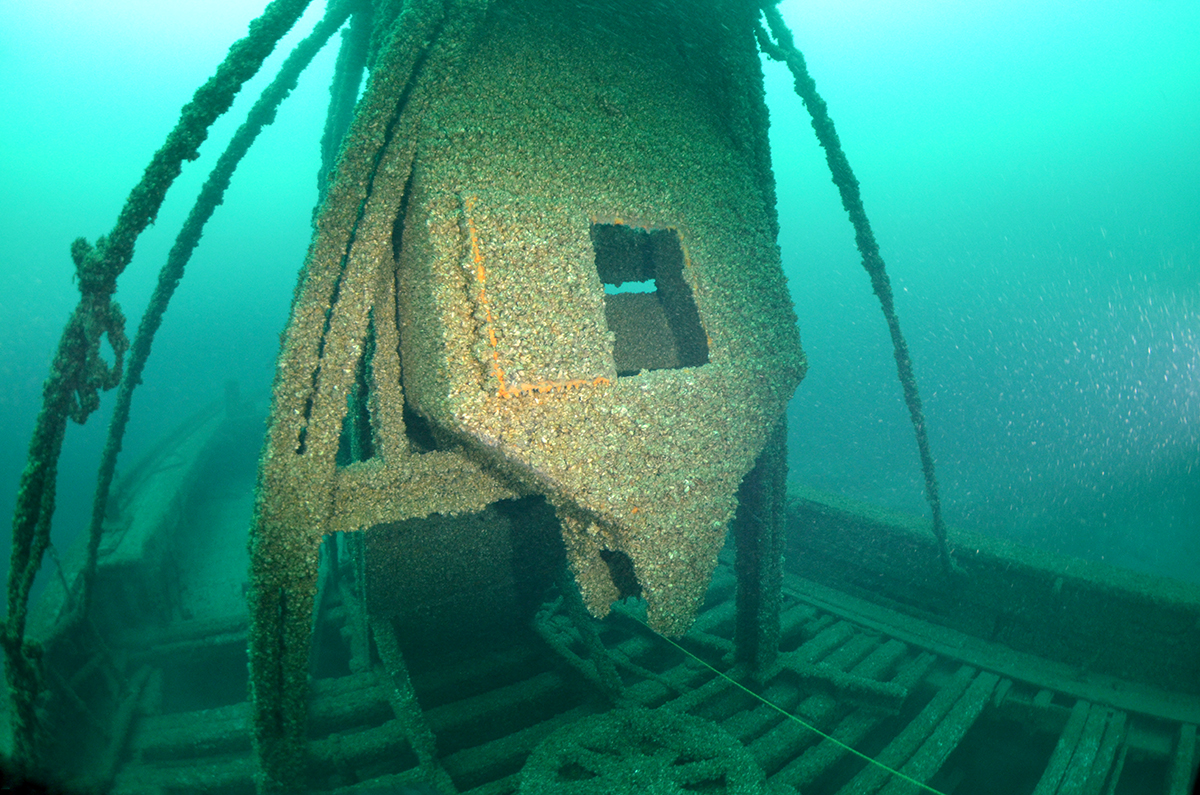
EMBA's Stern

Another View of EMBA's Stern

EMBA's Stone Ballast

EMBA's Internal Machinery
 Confirmed Location
 Unconfirmed location