
Gallery
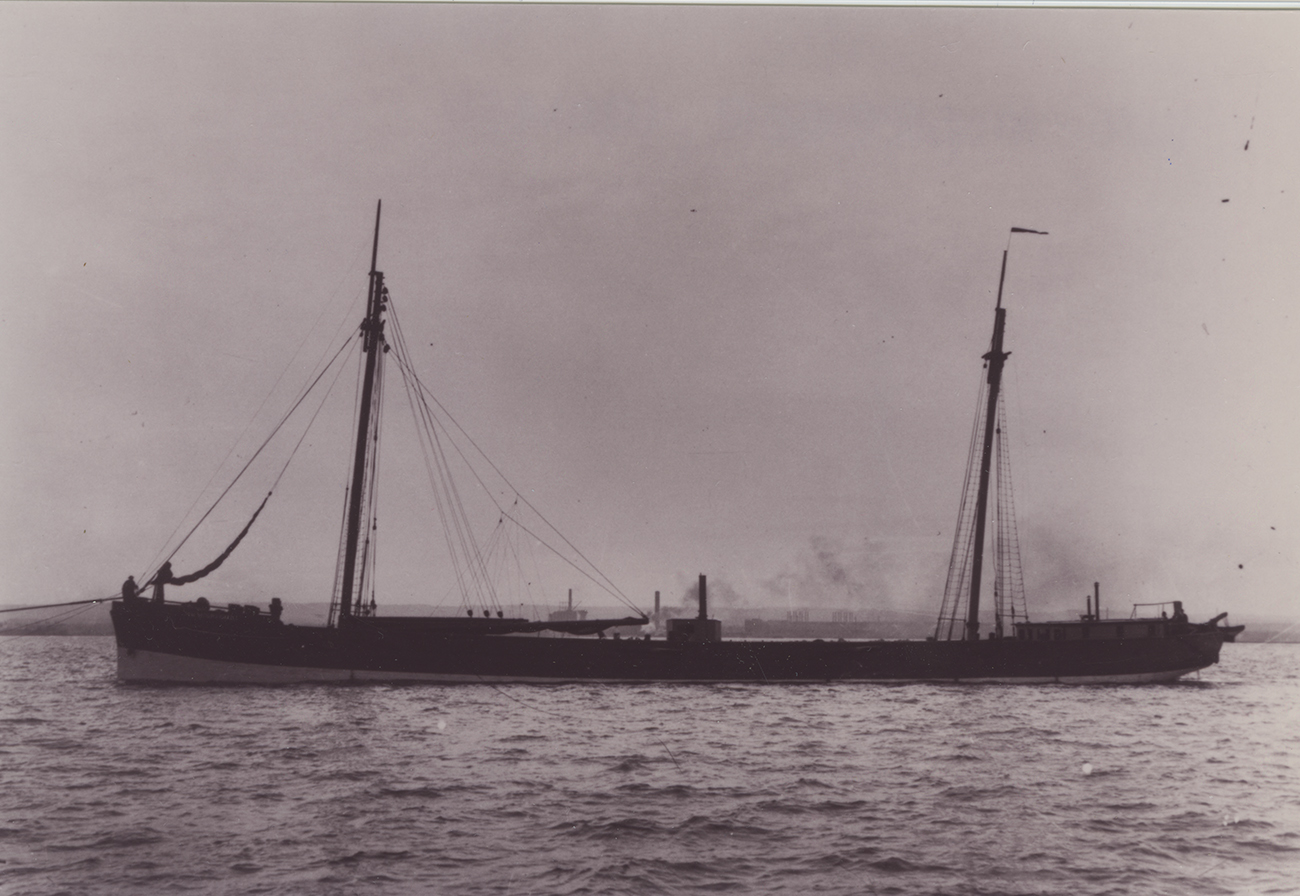
Historic image of schooner-barge William McGregor circa 1904.
Historic image of the Transfer equipped with self-unloading equipment in front of the commonwealth power plant, circa 1916.
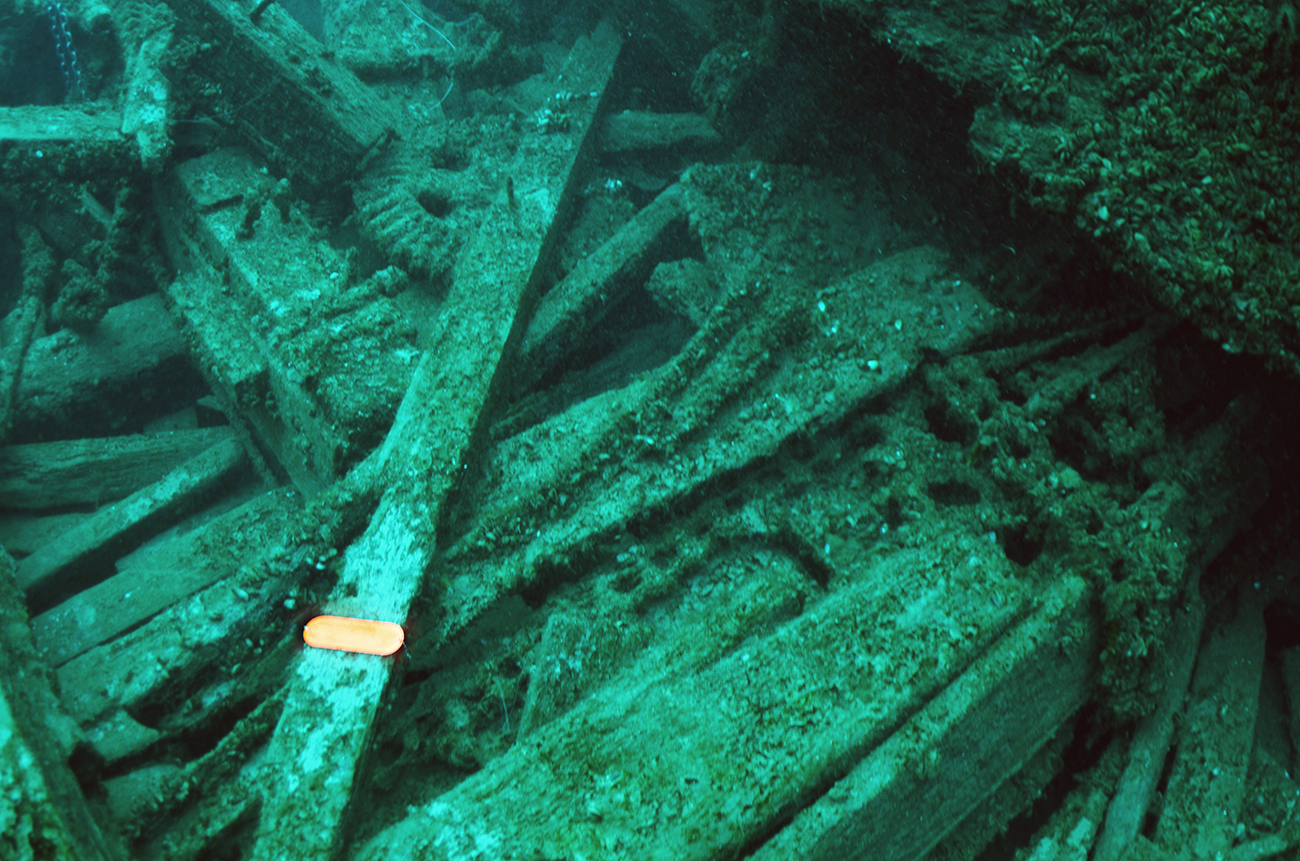
Diver Swims over the Stern of the Transfer
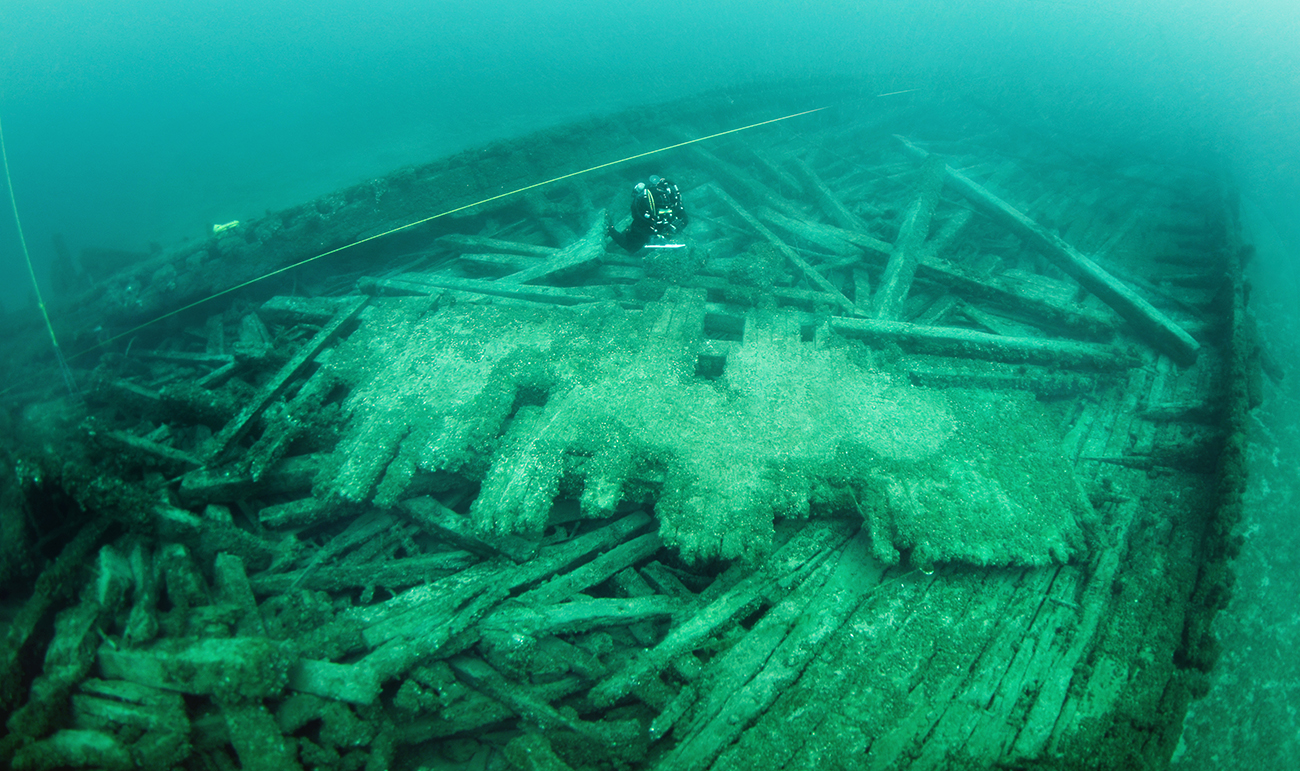
Knees Along the Starboard Side of the Transfer
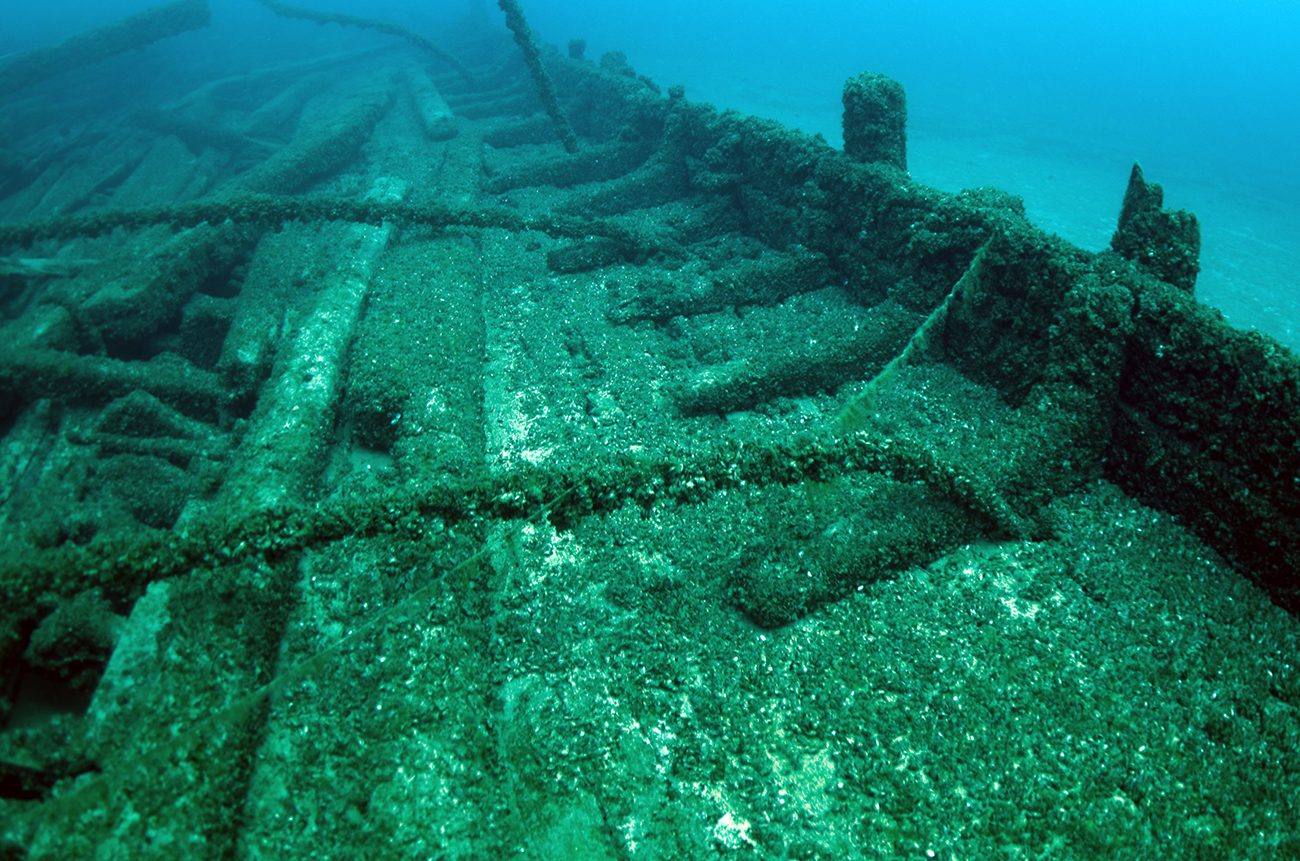
Roller chain and gears that were part of the self-unloading machinery.
The Transfer as the William McGregor, Moored Alongside other Vessels.
Transfer Sinking 1923. Rail & Wire Company Bulletin
Photogrammetry Model of the Transfer. You can View it Here: https://skfb.ly/6ZuVJ
Site Plan of the Transfer
Transfer's Broken Stern and Rudder

An Archaeologist Documenting the Bow
View of the Stern
 Confirmed Location
 Unconfirmed location